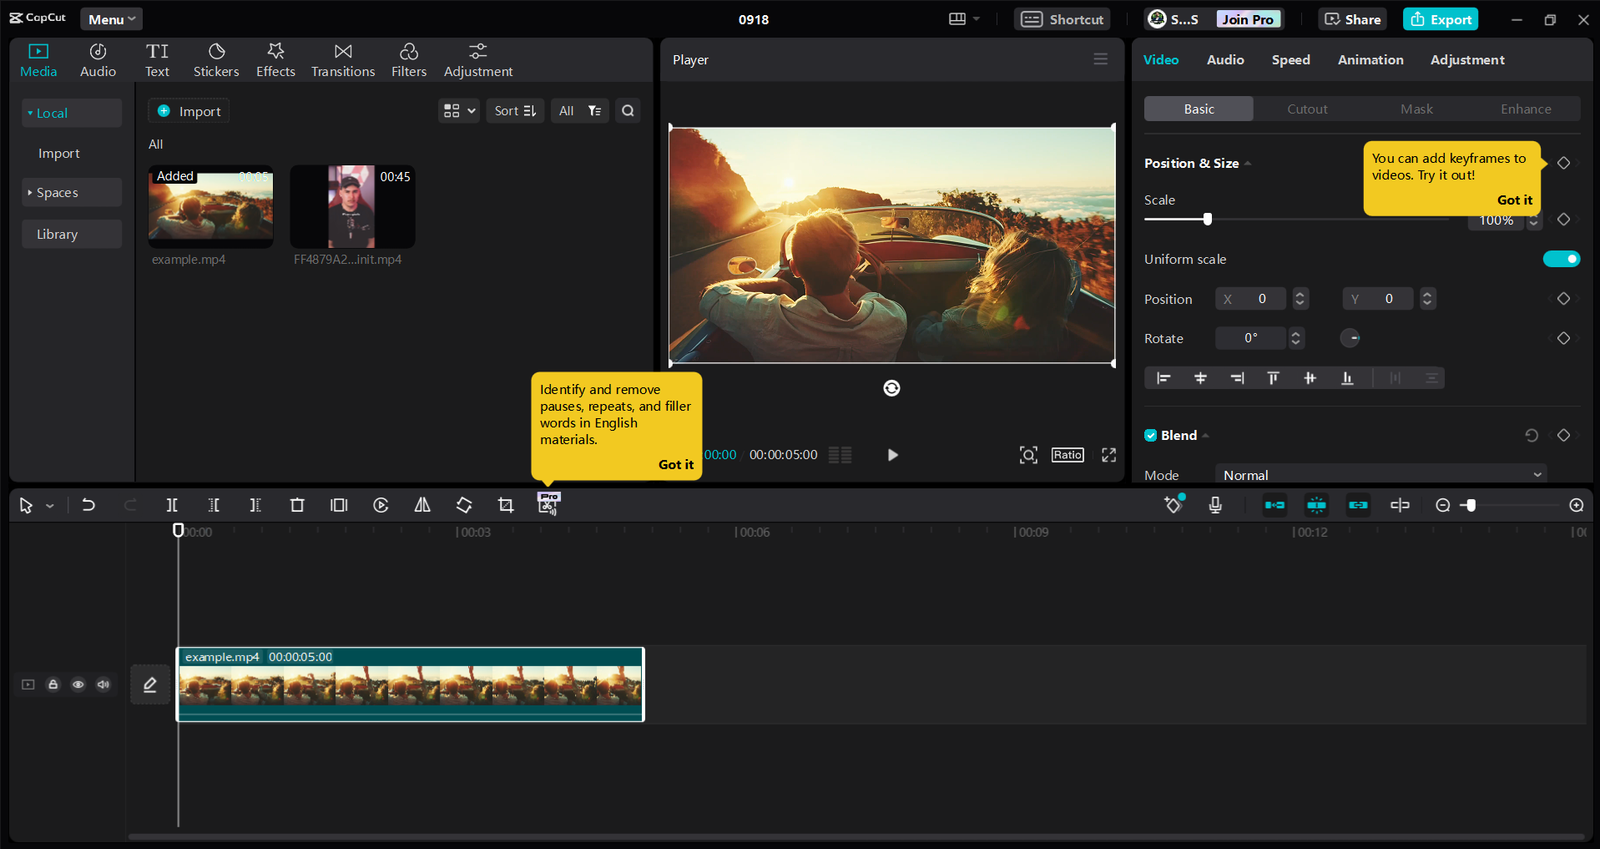
Open Task Manager while CapCut is stuttering, and you’ll usually see something confusing: CPU usage sitting at 20-30%. Not maxed out. Not even close.
So why is the timeline choppy?
This is the question that trips up most low-end PC editors, and it’s worth answering properly, because “my CPU isn’t even working hard” leads people to either blame CapCut unfairly or buy hardware they didn’t need.
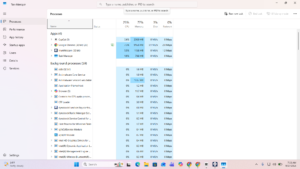
While testing CapCut Desktop on a modest Windows machine, I captured a Task Manager snapshot that illustrates the problem well:
| Resource | Observed |
|---|---|
| Overall CPU usage | 23% |
| Overall memory usage | 77% |
| Overall disk usage | 3% |
| CapCut CPU usage | 0.6% |
| CapCut memory usage | 200.9 MB |
| Chrome CPU usage | 7.3% |
| Chrome memory usage | 916.8 MB |
| Graphics | Intel integrated |
That’s one snapshot, not a full benchmark — it doesn’t capture what happens during continuous playback, which is where lag actually shows up. But it’s a useful starting point, because it immediately shows that CPU% alone doesn’t explain the whole picture: memory usage was already high, and a browser running in the background was a meaningful part of that.
CPU Usage Is Not the Whole Story
A single “23% CPU” number hides a lot. Your computer might simultaneously be decoding video, processing audio, rendering the preview, handling Windows background tasks, and applying effects — and the overall percentage can look moderate even while the editing experience itself isn’t smooth.
Think of it like a car’s dashboard reporting “40% engine power used.” That doesn’t mean the rest of the drive will be smooth — the road, the tires, the transmission all still matter. A CPU is only one part of the editing system; RAM, GPU, storage, and codec complexity are the rest of it.
The More Telling Number: 77% Memory Usage
The CPU figure wasn’t the interesting one — the memory usage was. Windows was already using roughly three-quarters of available RAM while CapCut was open, and Chrome alone accounted for about 917 MB of that.
This doesn’t prove RAM caused the lag. But it does show that video editing rarely happens in isolation — it’s competing with your browser, antivirus, cloud sync, messaging apps, and background services for the same limited memory.
The practical fix: before a demanding edit, close unnecessary browser tabs and background apps, then replay the same section and compare. That’s a real test — a screenshot alone isn’t.
Why CapCut Can Lag Without Maxing Out the CPU
Video playback isn’t governed by one number. A few specific factors matter more than people expect:
Codec and source footage. Two 1080p clips can behave completely differently depending on whether they’re H.264 or H.265/HEVC, their frame rate, bitrate, and whether your hardware can decode them natively. Phone recordings and screen captures are common culprits — they can look simple but decode poorly.
Effects stack up fast. A basic cuts-only timeline is easy. Add transitions, captions, overlays, color correction, stabilization, or AI features, and the workload compounds. CapCut’s own support documentation names animations, picture-in-picture, and special effects as common lag contributors, and recommends reducing complexity when desktop performance drops.
Resolution isn’t the only difficulty factor. “It’s only 1080p” doesn’t guarantee smooth editing — frame rate, bitrate, and variable frame rate matter just as much. 4K obviously raises the ceiling further, which is why CapCut recommends lowering preview load or switching to proxy media for heavier footage.
A Simple Test to Isolate the Problem
Don’t change ten settings at once. Instead:
- Start a new project and import a single clip with no effects, transitions, captions, or music.
- Play it back.
If it already stutters, the problem is likely the source footage or your hardware’s ability to decode it — check codec, resolution, frame rate, and graphics drivers before touching anything else.
If it plays smoothly, start adding elements one at a time — captions, then an effect, then another layer — testing playback after each addition. This tells you exactly where your system starts to struggle, instead of guessing.
Disk Usage: Why 3% Doesn’t Mean Storage Is Fine
The 3% disk usage in the snapshot might look like storage is a non-issue, but a single moment-in-time reading doesn’t capture what happens when CapCut loads media, builds cache files, or generates previews — and it says nothing about whether the drive is an HDD or SSD.
If you’re still on a mechanical hard drive, moving your active project to an SSD will make everything feel more responsive — launching, loading media, caching. It won’t fix a genuinely underpowered CPU or a difficult codec, but it removes one common bottleneck.
Proxy Mode and Preview Quality: Two Settings People Misunderstand
Proxy editing swaps your heavy source footage for lighter working files during editing — useful for 4K, high-bitrate footage, or timelines with many layers. CapCut describes this as a way to improve playback specifically when projects get heavy. Important: proxy files are for editing convenience only. Keep your originals intact, and double-check your export settings before rendering the final video.
Preview quality is a separate setting from export quality. Lowering the preview resolution reduces the real-time workload while you’re editing — it does not lower the quality of your final export. If your timeline is struggling, this is a much better first move than assuming you have to accept a worse final video.
Hardware acceleration isn’t a guaranteed fix either. Its effectiveness depends on your specific GPU generation, driver version, codec, and CapCut version — so test it in isolation (same clip, one setting changed) rather than assuming it will help or hurt.
A Practical Testing Method
Rather than changing everything at once, isolate variables using the same short timeline each time:
- Baseline — CapCut and Chrome both open, original settings. Record CPU, RAM, disk, and playback smoothness.
- Close Chrome — same clip, nothing else changed.
- Lower preview quality — same clip, everything else identical.
- Enable proxy mode — same clip, compare playback.
This tells you which variable actually moves the needle — something a single Task Manager screenshot can’t do on its own.
Before You Buy New Hardware, Try This
- Close unnecessary programs, especially browsers with many tabs.
- Restart CapCut — cache issues can masquerade as performance problems.
- Test one clean clip with zero effects.
- Lower preview quality and see if playback smooths out.
- Disable heavy effects temporarily.
- Toggle hardware acceleration and test one setting at a time.
- Try proxy media on demanding footage.
- Check that your working drive has free space (and consider an SSD if you’re on an HDD).
- Update CapCut to the latest version.
- Test again — one change at a time, so you know what actually helped.
The Real Mistake Low-End PC Editors Make
It’s not owning an older computer — it’s trying to force that computer to behave like a high-end workstation. A low-end PC can absolutely handle video editing if the workflow matches its limits: 1080p instead of 4K, fewer simultaneous layers, lighter effects, proxy media, and a lean set of background applications. That’s not a compromise — it’s just editing to your hardware’s actual capacity.
A practical workflow: close unnecessary apps before starting → make your cuts first → add captions and overlays after the base edit plays smoothly → add heavy effects last, one at a time, so you can see what breaks playback → export a short test section before rendering the full project.
What This Test Doesn’t Tell Us Yet
A single snapshot is a starting point, not a full diagnosis. A proper follow-up test would capture CPU, RAM, GPU, and disk usage during active playback — not just at idle — along with exact hardware specs (CPU model, RAM total, GPU model, storage type) and the specific codec and frame rate of the test footage.
That’s the data that would actually pin down the bottleneck, and it’s what I’d want to measure next.
Bottom Line
The screenshot doesn’t prove the CPU is weak, and it doesn’t prove RAM is the culprit either — there isn’t enough evidence for either claim. What it does show clearly is that CPU usage alone doesn’t explain CapCut’s performance. Memory pressure, background apps, codec complexity, and effects all factor in.
Don’t diagnose CapCut lag from one number. Start with the simplest possible timeline, change one variable at a time, and test before you spend money on new hardware.
FAQ
Why does CapCut lag when CPU usage is only 20%?
CPU is only one factor — footage decoding, GPU load, memory pressure, disk activity, effects, and background apps all affect playback.
Does high RAM usage mean CapCut is causing the lag?
Not on its own. High memory usage shows the system is under pressure, but you need an active-playback test to confirm it’s actually the bottleneck.
Can closing Chrome make CapCut faster?
Often yes, especially on limited-RAM systems — but confirm it by testing the same section before and after, rather than assuming.
Does lowering preview quality reduce my final export quality?
No. Preview quality affects the real-time editing experience only; export settings control your final output.
Does CapCut support proxy editing?
Yes — it’s designed to ease playback on demanding footage or heavy timelines.
Should I buy a new PC if CapCut lags?
Not immediately. Isolate the bottleneck first — background apps, effects, preview settings, storage, and proxy media are all worth testing before hardware.
Is 4GB of RAM enough for CapCut?
It meets CapCut’s stated minimum for basic use, but that doesn’t guarantee smooth performance on 4K, effects-heavy, or multitasking workflows.