
Best Export Settings for Low-End PC (Fast Rendering Guide 2026)
Best Export Settings for Low-End PC (No Lag + Fast Rendering Guide 2026)
Rendering a video on a low-end PC can feel like the hardest part of editing.
You finish your project, click export… and then your system slows down, fans get loud, and sometimes it even crashes.
If you’re using a laptop with integrated graphics or 2GB–4GB RAM, this is normal.
But here’s the important part:
👉 You don’t need a powerful PC to export videos smoothly. You just need the right settings.
This guide will show you exactly how to export videos faster, reduce lag, and avoid crashes — without sacrificing quality.
Best export settings for low-end PCs: Use H.264 (MP4), 1080p resolution, 30 FPS, VBR 1-pass encoding, and hardware acceleration. These settings reduce rendering time, prevent lag, and work smoothly on low-end systems.
🚀 The “Golden” Export Settings (Best Balance of Speed + Quality)
These settings work in most editors like Premiere Pro, DaVinci Resolve, CapCut, and Shotcut.
| Setting | Recommended Value | Why It Works |
|---|---|---|
| Format | H.264 (.mp4) | Fast + universal support |
| Resolution | 1080p (1920×1080) | Best balance of quality + speed |
| Frame Rate | 30 FPS | Easier to render than 60 FPS |
| Performance | Hardware Encoding | Uses GPU instead of CPU |
| Bitrate | 8–10 Mbps | Good quality without heavy load |
| Encoding | VBR, 1-pass | Faster than 2-pass |
👉 These settings are the sweet spot for low-end PCs
💻Best Export Settings For Low End PC
Best Render Settings for 2GB RAM PCs
If you’re using a 2GB RAM PC, your system is very limited. You can still render videos, but you must focus on stability over quality.
👉 The goal is simple: avoid crashes and complete the export successfully
⚙️ Recommended Render Settings (2GB RAM)
| Setting | Recommended Value | Why It Works |
|---|---|---|
| Format | MP4 (H.264) | Lightweight and fast |
| Resolution | 480p–720p | Reduces system load |
| Frame Rate | 24–30 FPS | Easier for CPU |
| Bitrate | 3–5 Mbps | Faster rendering |
| Encoding | VBR, 1-pass | Less processing required |
| Hardware Acceleration | ON (if available) | Helps reduce CPU usage |
🎯 What to Expect (Realistically)
On a 2GB RAM PC:
- 720p videos work best
- 1080p may cause lag or crashes
- Long videos will take a lot of time
👉 Keep projects short and simple for better results
⚡ Extra Tips for 2GB RAM Users
To avoid lag and crashes:
✔ Close all background apps
✔ Use proxy editing before export
✔ Lower preview resolution (480p)
✔ Export in small parts (5–10 minutes)
✔ Keep at least 20% storage free
Best Render Settings for 4GB RAM Laptop (Fast & No Lag Guide 2026)
Rendering videos on a 4GB RAM laptop can be slow, frustrating, and sometimes even crash your system.
But here’s the truth:
👉 You don’t need a powerful laptop to render videos smoothly — you just need the right settings.
In this guide, you’ll learn the best render settings for 4GB RAM laptops to get faster exports, reduce lag, and avoid crashes.
Best render settings for 4GB RAM laptop: Use MP4 (H.264), 1080p or 720p resolution, 30 FPS, VBR 1-pass encoding, and hardware acceleration. These settings reduce lag and improve rendering speed on low-end systems.
🧠 Why Rendering Is Slow on 4GB RAM
Rendering is heavy because your system has to:
- Process video clips
- Apply effects
- Encode final output
👉 With only 4GB RAM, your system gets overloaded easily.
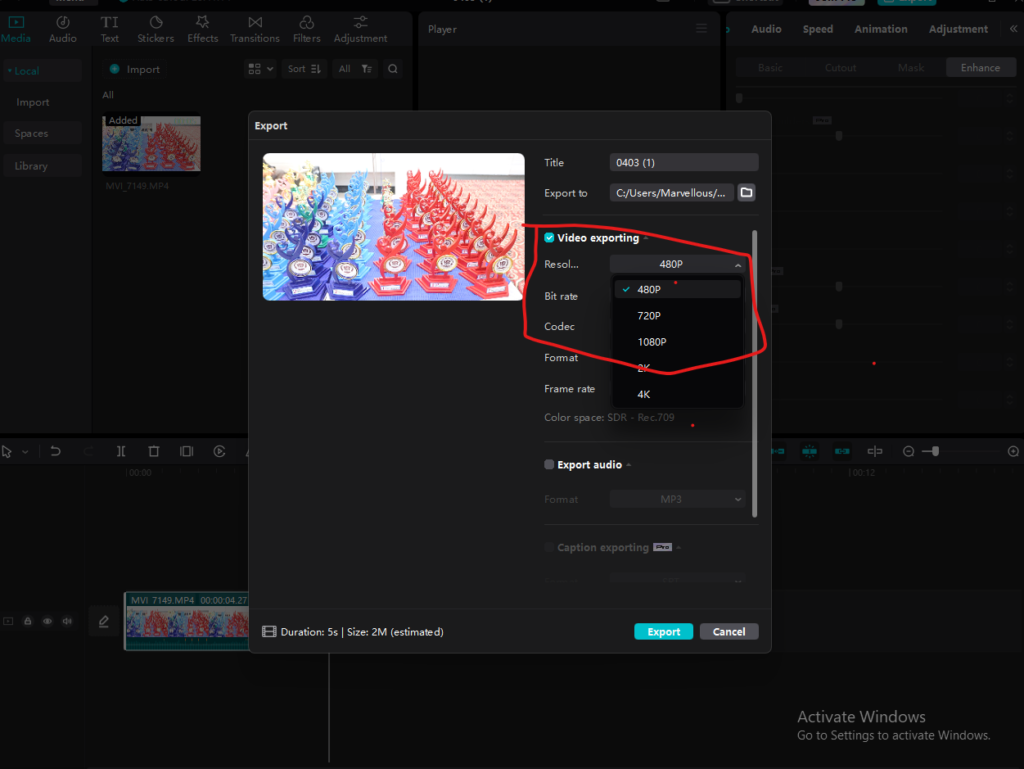
🚀 Best Render Settings for 4GB RAM Laptop
Use these settings in CapCut, Filmora, Shotcut, or any editor:
| Setting | Recommended Value | Why It Works |
|---|---|---|
| Format | MP4 (H.264) | Fast + widely supported |
| Resolution | 1080p (or 720p for speed) | Balanced quality |
| Frame Rate | 30 FPS | Easier than 60 FPS |
| Bitrate | 8–10 Mbps | Good quality, faster render |
| Encoding | VBR, 1-pass | Faster than 2-pass |
| Hardware Acceleration | ON | Uses GPU for speed |
🎯 When to Use 720p vs 1080p
👉 Use 720p if:
- Your laptop is slow
- You face lag or crashes
- You want faster export
👉 Use 1080p if:
-
- Your editing is smooth
- Project is short
- You want better quality
📊 Comparison Table: 2GB vs. 4GB RAM
| Feature | 2GB RAM (Ultra-Low) | 4GB RAM (Budget) |
|---|---|---|
| Max Resolution | 720p (HD) | 1080p (Full HD) |
| Bitrate Target | 3–5 Mbps | 8–12 Mbps |
| Editing Strategy | Heavy Proxy Use | 1/4 Preview Quality |
| Ideal Project Length | Under 5 Minutes | 10–15 Mi |
🧪 Real Test: My Experience on a 4GB RAM Laptop
To make this guide practical, I tested these settings on a real low-end system:
PC Specs:
- 4GB RAM
- Intel i3 processor
- Integrated graphics
- SSD storage
🎬 Project Details:
- Video length: 8 minutes
- Resolution: 1080p
- Clips: 6–8 short clips
- Effects: Basic cuts + light transitions
❌ Before Optimization:
- Export settings: 1080p, 60 FPS, high bitrate
- Result:
- Export time: ~45 minutes
- Heavy lag during rendering
- System froze once
✅ After Using Recommended Settings:
- Format: MP4 (H.264)
- Resolution: 1080p
- Frame rate: 30 FPS
- Bitrate: 8 Mbps
- Encoding: VBR 1-pass
- Hardware acceleration: ON
Result:
- Export time: ~18 minutes
- No lag or freezing
- Smooth rendering
💡 What Changed the Most?
From testing, these had the biggest impact:
- Lowering FPS (60 → 30)
- Switching to VBR 1-pass
- Closing background apps
- Using SSD instead of HDD
👉 These small changes reduced render time by almost 50%
🧠 Final Insight
From real usage, one thing is clear:
👉 You don’t need better hardware — you need better settings
Even a basic 4GB RAM laptop can handle video rendering smoothly if you optimize correctly.
🛠️How to Export Video Faster On Slow Computer
If your timeline is already lagging, export will be even worse. Fix this first.
1️⃣ Enable Proxy Editing
Proxy files are low-quality versions of your clips.
- Smooth editing
- Faster preview
- No impact on final export quality
👉 Your editor switches back to original files during export
2️⃣ Lower Playback Resolution
Set preview to:
- ½ quality
- or ¼ quality
👉 This reduces RAM usage instantly
3️⃣ Clear Media Cache
Cache files build up over time and slow everything down.
👉 Before exporting:
- Go to settings
- Clear unused cache files
⚡ Advanced Tips for Faster Rendering
These small tweaks make a big difference:
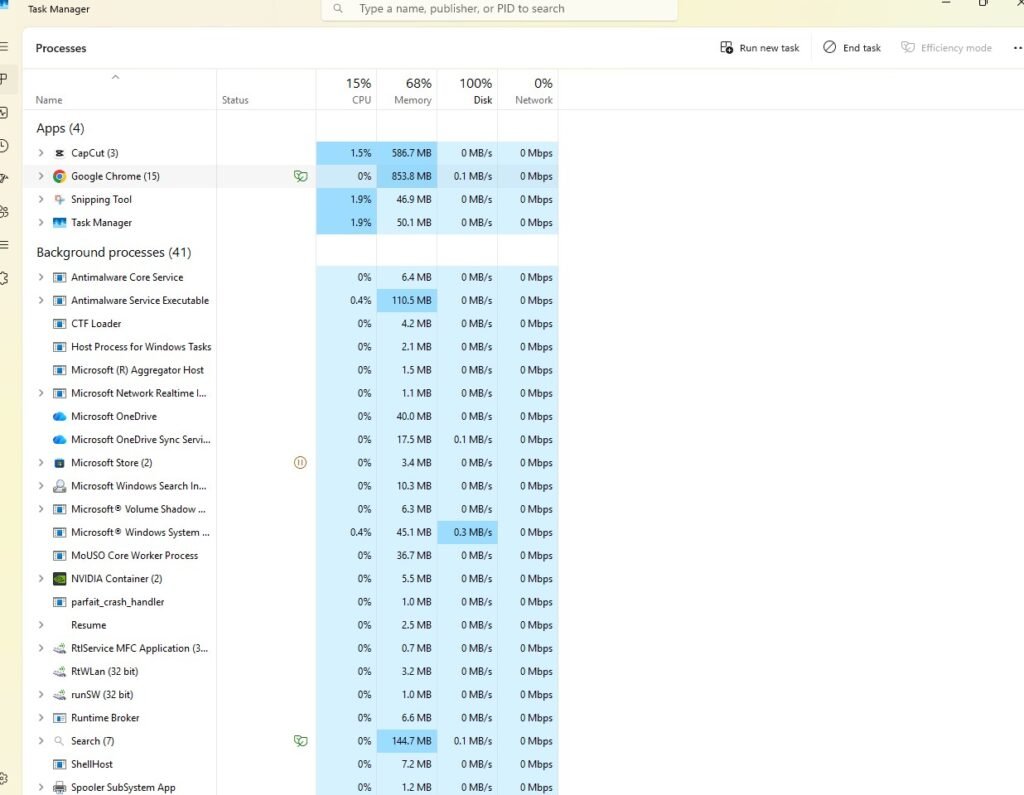
✔ Close Background Apps
Chrome, games, and apps use RAM
✔ Plug in Your Laptop
Enables full performance mode
✔ Export to SSD (Important)
SSD = faster write speed
HDD = slow export
✔ Keep Storage Free
At least 15–20% free space
💻 Best Lightweight Video Editors (Low-End PCs)
If your current editor is too heavy, try these:
- CapCut Desktop → Best for beginners and speed
- Shotcut → Free and lightweight
- VSDC → Optimized for weak PCs
- Kdenlive → Stable but use fewer effects
👉 These tools work better on low RAM systems
🚫 Common Export Mistakes (Avoid These)
❌ Exporting in 4K
- 4x heavier than 1080p
👉 Avoid on low-end PCs
❌ Using 60 FPS
- Doubles processing load
👉 Use 30 FPS
❌ High Bitrate (20+ Mbps)
- Slower rendering
👉 Stick to 8–10 Mbps
❌ 2-Pass Encoding
- Better quality, but much slower
👉 Use 1-pass
📊 Real Export Time Example
| PC Type | Video Length | Export Time |
|---|---|---|
| 2GB RAM | 5 min (720p) | 10–20 min |
| 4GB RAM | 10 min (1080p) | 15–30 min |
👉 Times depend on effects and system condition
✅ Final Checklist (Quick Win)
Before exporting, check this:
✔ Close all apps
✔ Use H.264 format
✔ Enable hardware encoding
✔ Use VBR 1-pass
✔ Export to SSD
✔ Keep bitrate under 10 Mbps
🧠 What Actually Matters Most
After testing on low-end PCs, here’s what matters:
- Settings matter more than software
- Lower resolution = faster export
- Simple edits = better performance
👉 Smart workflow always beats powerful hardware
🏁 Final Thoughts
Exporting videos doesn’t have to be slow or stressful.
If you:
- Use optimized settings
- Avoid heavy options
- Prepare your system properly
👉 Even a low-end PC can export videos smoothly and reliably.
❓ FAQs
Q1: Which format is best for fast export?
H.264 (MP4) is the best for speed and compatibility.
Q2: Why is my export taking so long?
High resolution, high bitrate, or too many effects.
Q3: Can I export 1080p on 2GB RAM?
Yes, but it may be slow. 720p is safer.
Q4: Does SSD improve rendering speed?
Yes, especially when writing large video files.
——————————————————————————————————————-
- How to Edit Videos Without Lag
- Top Mistakes That Cause Lag
- HDD vs SSD for Video Editing
Pingback: Best Video Editing Settings for YouTube on Low-End PC (2026 Guide) - TheEditFlows